EN
EN UA
UA


 Login
Login 
Connection of banking services
1. To connect banking services and terminals, go to the “Settings” menu in the «Card payment» section.
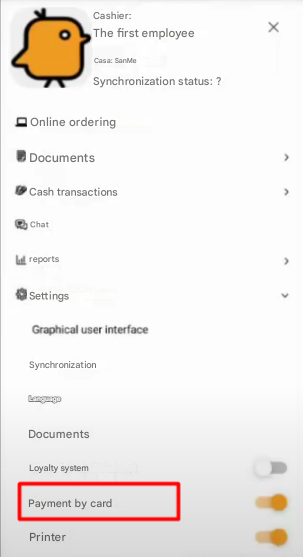
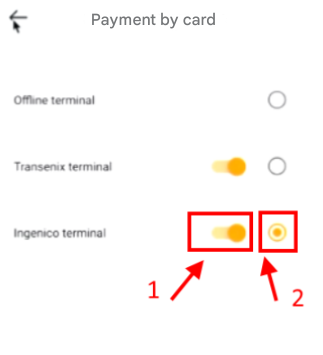
2. The opened window displays a list of possible connections and their settings. You can connect either one or more possible card payment options. Opposite each option there is a switch for connection and selection of the default payment method. When closing the cheque through card payment, the payment will go to the terminal selected by default.
2.1 To connect the selected terminal, turn on its switch No. «1».
2.2 To connect the selected default terminal, turn on parameter No. «2».
3. To change the terminal directly at the payment, you need to:
3.1 When closing the cheque in the payment method selection window, select the terminal by pressing the “Select terminal” button.
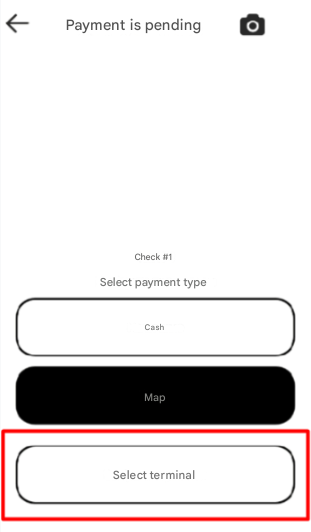
3.2 In the opened menu, we choose the necessary terminal.
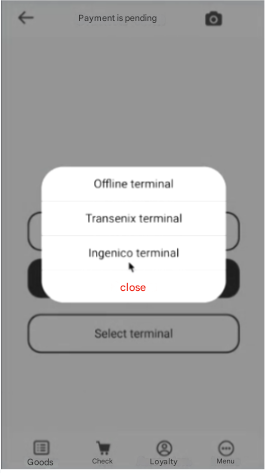
3.3 The payment will be made to the selected terminal.
Payment via A-Bank
To connect A-Bank you first need to:
1. Download the A-Bank application
2. Register in it.3. In settings p.2 turn on the switch and choose the default payment.
Please note that the A-Bank app should be turned on while the Paykit app is in use. If this condition is not met, then payment through A-Bank will not be made and you will have to choose another payment method.Follow the prompts on the screen when closing the cheque.
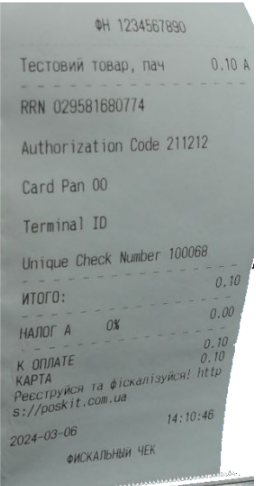
4. Please note that after closing the cheque, the necessary merchant information will be displayed in the printed cheque.
Setting up TapXphone in Paykit
1. Register on the site Acquiring from mono and get a Seller ID and Terminal ID
2. Install the TapXphone application from Play Market.
3. In Paykit, go to Administrative settings – Card payment and click on TapXphone.

4. Enter Seller ID and Terminal ID. (Obtained after registration in p.1)
If the page does not contain fields for entering the Seller ID and Terminal ID, you should contact technical support.

5. Press the button “Link device” after which the message “The device successfully configurated and can be used for payment” is issued.

6. Press the “arrow” in the upper left corner and opposite TapXphone put the slider and checkbox in the active position.

Translated summarize_title
Translated summarize_desc